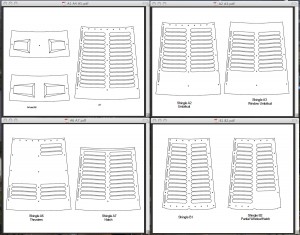
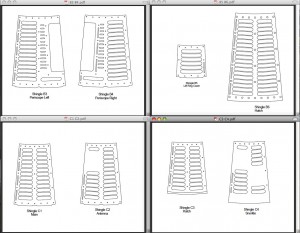
I quickly grabbed the geometry from the Shingle drawings to make the following PDF files. The dimples are not very scale in these drawings but they get the point across. They were modeled differently for the molds. The ones where umbilical ports go, thrusters, and antennas all need to have parts added to them. Looking at photographs can help with this. This was an experimental project and many of these ‘special’ shingles were riveted together to get the right parts on. You can simple glue parts onto the paper and add little punches to simulate the rivets. I’ll try to post some photos but there are tons available on the Internet.
These basic files will allow the builder to cover up all that work they did!
If you really want to put in the work, you can cut each dimple out and add some paper behind the shingle before gluing it on. It gives a slight 3-D effect. The small vertical dimples are raised so add an extra piece to the surface. The real washers were 1 inch so a standard 1/4 hole punch can help with the 500 or so you will need. The screw heads were 1/2 inch so go buy a 1/16 hole punch from the craft store for these. You could draw little lines on the to simulate the philips slots….:)
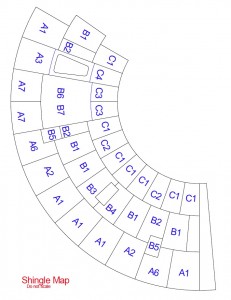
Click on the map to get the Zip file.


