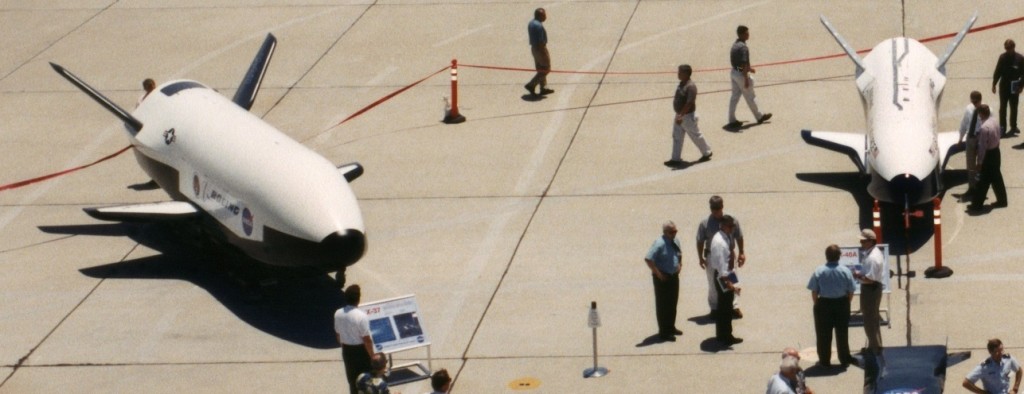
This page will detail these two unique aircraft through web info and photo interpretation.
This web page is in no way related to or sanctioned by Boeing, NASA or the US Air Force. All photos of the full-size aircraft belong to Boeing, NASA, or the USAF unless otherwise noted.
The goal is to end up with flyable R/C models. Check back for updates. Simple build threads are presented in the pull-down tabs above and will be updated as appropriate. This is not intended for and may not be used for any commercial purposes whatsoever.
I’ll leave it to the reader to research the history of these aircraft. Basically there are three different models that have all flown. The X-40 is sometimes quoted as an 85% version of the X-37. Analysis of photos shows subtle differences. An X-37A completed some approach and landing tests before the B variant flew in space (as far as we, the general public know). The X-37A and x-37B look dimensionally the same. There are some subtle differences that are briefly discussed in online papers. Basically, some of the RCS stuff was missing and the TPS was different for the X-37A atmospheric only tests.From here on, we’ll refer to the X-40 and X-37. We’ll address the differences in exterior markings for the 37’s when it comes time.
Specs for each aircraft vary. Often numbers are given in metric units with conversion to US customary. These often seem rounded and vary from site to site. The X-40 dimensions were found in more than one place. NASA is usually particular about getting details right and the following were found on a Dryden site so we’ll go with those. The X-37 dimensions came from a Boeing site and a fact sheet released by the Air Force.
X-40A
- Wingspan 11′ 6″
- Length 21′ 5″
- Height 7′ 5″
- Weight 2650 lb
X-37B
- Wingspan 14′ 11″
- Length 29′ 3″
- Height 9′ 6″
- Weight 11,000 lb
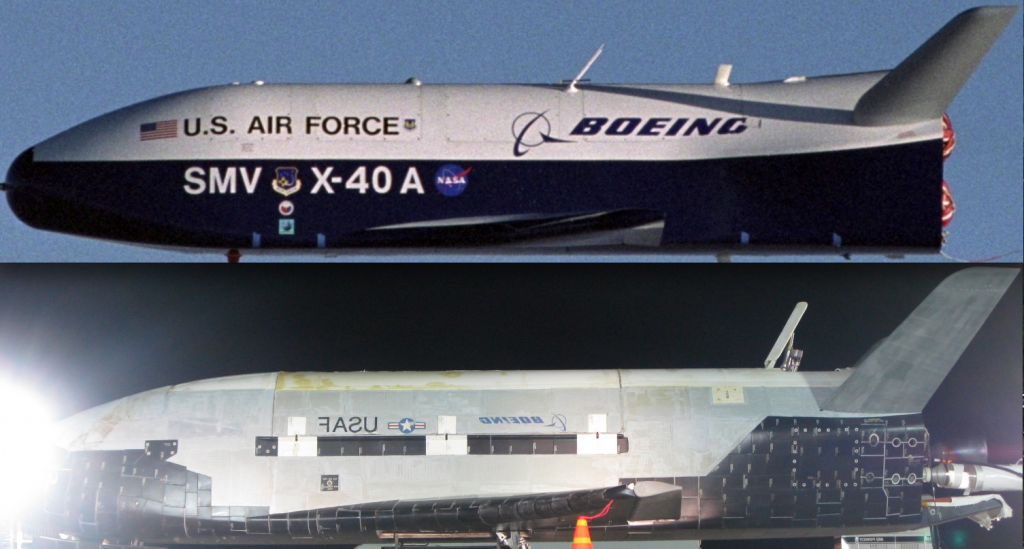
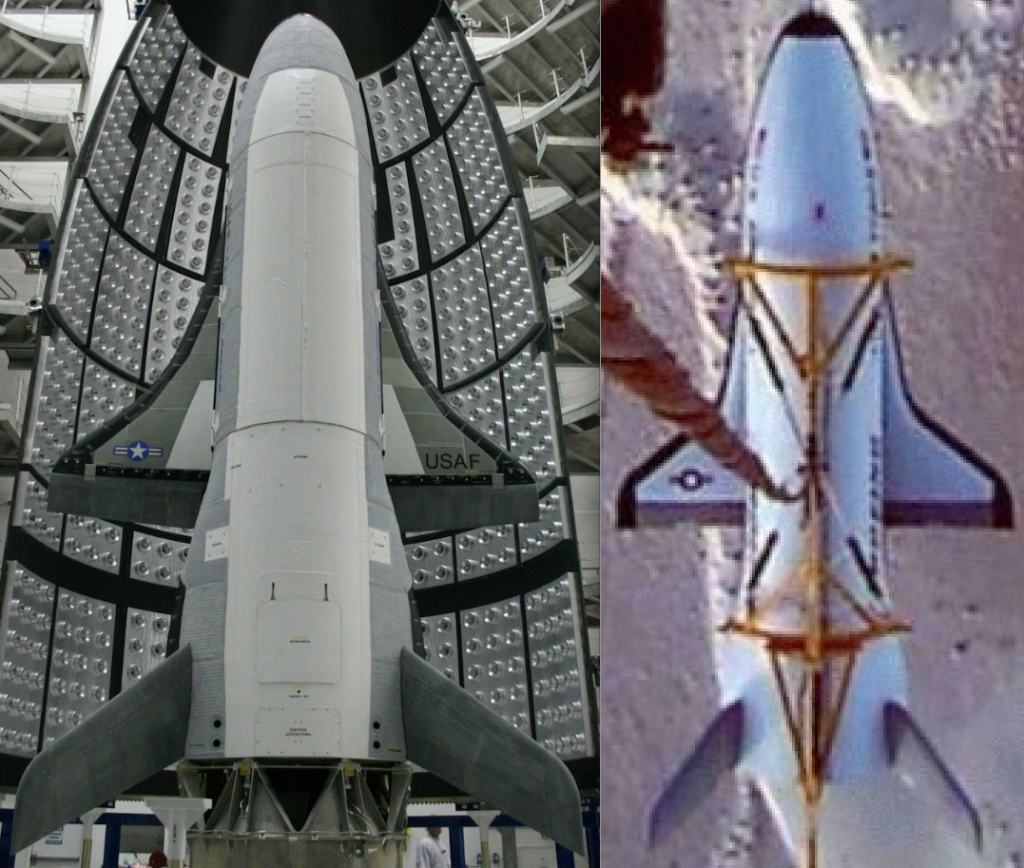
So comparing the photos below, it looks like the wing for the X-40 is slightly smaller than the X-37 (scale wise). The tail surfaces are also slightly different. The distinguished ramp on the top rear of the 40 is missing from the 37. Its hard to speculate but it could have been removed to reduce pitching moments at higher speeds. Its interesting the wing is smaller. Maybe it was sized to increase wing loading to mimic 37 flare on landing? The aft side flares on both models appear slightly different but present. In top views they appear more similar than the side view where the 40 ramp influences the shape. Maybe its a packaging issue or some aero issue. It should be noted there is a flare in the aft fuselage sides of the shuttle. Photos of the shuttle being serviced in this area show plenty of room so its not a packaging issue there.
This composite photo has been scaled (and reversed) to compare the differences.
I’ll work up some numbers as I go along. Currently the 1/10 scale Depron model of the X-40 is flying and providing experience for optimizing CG and control throws. The goal is to build a same-scale X-37 from more traditional building techniques (balsa) with operating spoiler and retracts. I’ll eventually post plans for both. The X-40 can be built in a few evenings and is fun to fly. It does require some intermediate skills. The larger X-37 with retracts should be even more fun!
10/18/11
The templates and some basic instructions are done and posted for the X-40. The point was to figure out the CG range and control throws. I also wanted to see how it flew mixing in flaps. I wanted to get some flying experience on it before building the X-37 and flying it onto a hard runway.
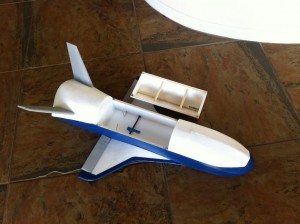
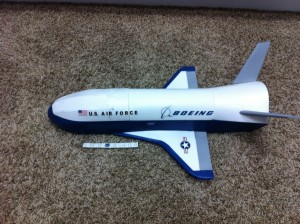
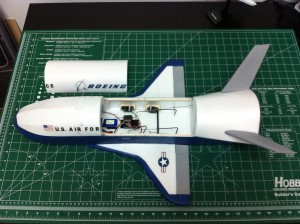
After drawing the wing, I scaled it up 125%. I wanted a better chance of being successful. It would also allow me to ballast it up and see how the X-37 might fly. It ended up with a 16.5 inch wingspan and is 25.5 inches long. It weighs 8 oz ready to fly. It uses a simple flat bottom airfoil that ends up around 12% thick with the formed top piece. It uses a 3/16 round carbon spar for simplicity.
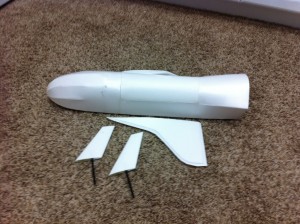
Basic construction before assembly.
Ready for radio equipment.
Waiting on final graphics.
10/21/11
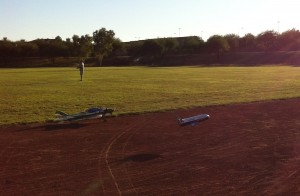
It flys! We flew it about 10 times. I flew it 4 or 5 times to get the CG about right. Then I wanted someone else to fly it for second opinions. After 5 or 6 more flights, we found the aft limit and on the last flight, the forward limit. For the last flight, we limited the elevator throw to de-sensitize it and forgot to put in an ’emergency’ rate. We were in a hurry and the crowd at the local field was anxious to see the next flight. It went in pretty hard but since its depron, it was a pretty easy fix and paint touch up. A wing broke so I added an additional spar a little further aft. Its ready for more testing…
This was just before the first flight.
First flight CG was at the heavy line. It seemed to flew best about 1/8 inch behind the dot which was the calculated 25% chord of the wing. It flew light. Next time out I’ll add some ballast and try it with a faster approach.
10/28/11
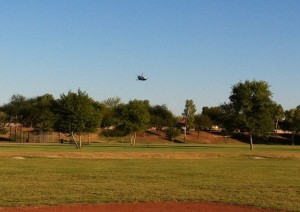
Success! About 20 more flights today. The battery was moved forward and the Receiver ended up where the battery was. It also has a quarter in the nose (8.2 oz now) It flies quite well. I ended up mixing elevons to elevator. It allows for smoother (alpha) control and takes out some of the pitchiness we were experiencing. It’s essentially killing lift as we add elevator so you can increase the angle of attack without the model climbing as much. It makes it look like it has a much higher wing loading than it actually does.
It bleeds speed fairly quick in the flare but its pretty easy to fly it 50 feet or so down the runway to a nice landing. If you come in a little shallow, the flare to touchdown takes place much quicker, more like 20 feet. Its pretty easy to come in with a scale like approach, slowing near the flare point, then perform a scale flare like on the real videos. You can also keep the approach speed a little longer and extend the flare to touchdown more like a shuttle landing. Its pretty fun.
12/11/11
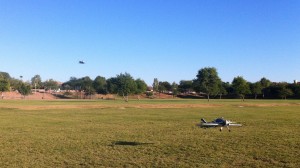
Videos! Yipee! The first one was from a few weeks back. The others are from this past weekend.
Here is a guide I was using to set it up. 
It flies best if you use the forward CG. You need to keep the speed up as you can see in the videos. If seems if you don’t carry speed into the final, it doesn’t have enough pitch authority to rotate. This is common in the dozens of Shuttles I have flown. The control throws are not as critical if you carry the speed. Its a little sensitive when fast but then you need the throw as it slows down. If I fly it anymore, I’ll play with rudder inputs more, feel out control throws at different speeds, and maybe move the CG around some more.
To build the X-40, go Here or use the pull-down tab above.
Now to start on the X-37…

